To make a buttery pie crust, start with 2 ½ cups of all-purpose flour, 1 cup of cold unsalted butter, and ½ teaspoon of salt. Mix the dry ingredients, cut in the butter until crumbly, then gradually add 6-8 tablespoons of ice water until the dough forms. Shape it into a disk, wrap in plastic, and chill for at least an hour to guarantee flakiness. Follow these steps, and you’ll create a perfect crust for your favorite pies!
Ingredients and Quantity
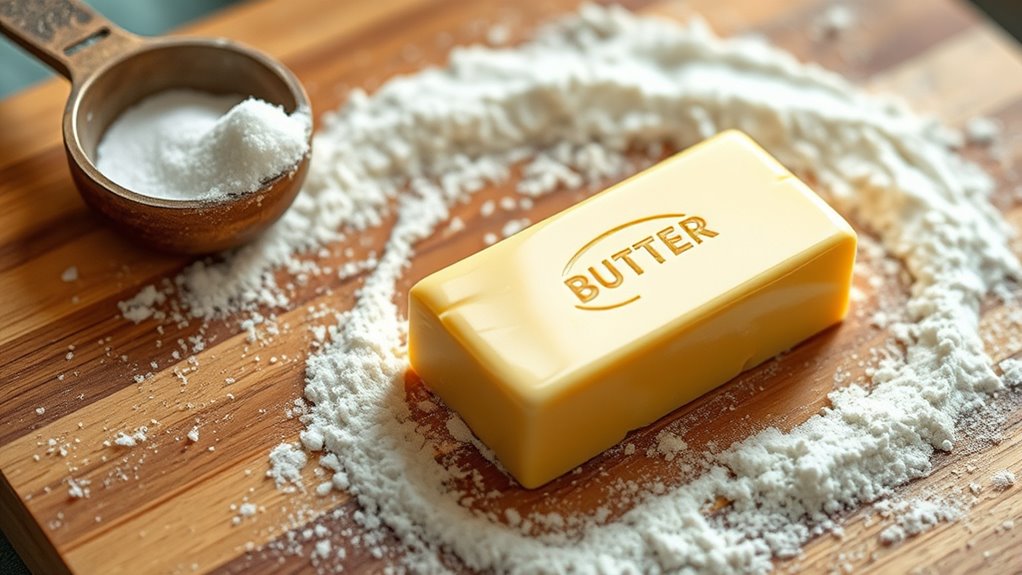
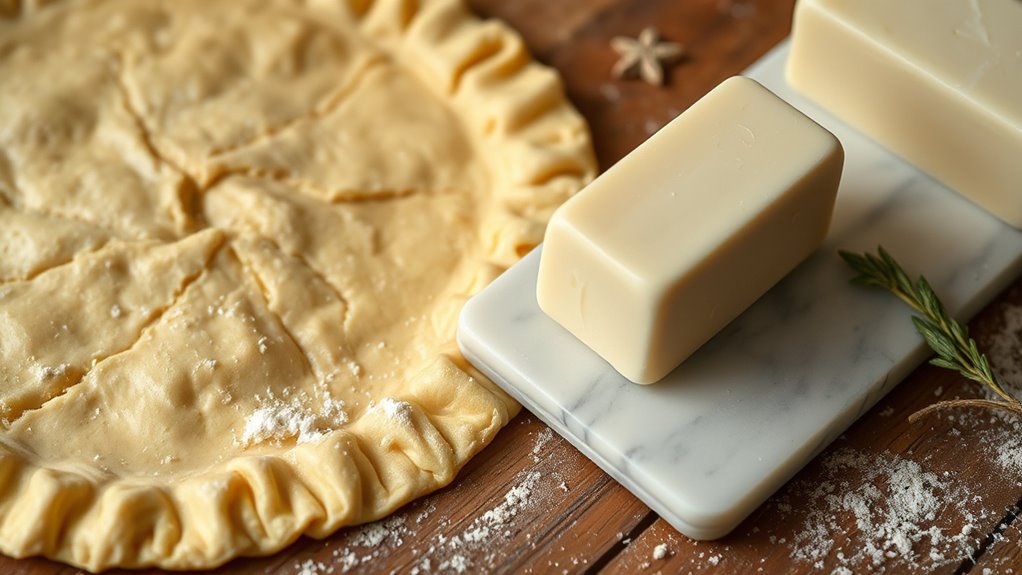
Making the perfect pie crust starts with the right ingredients. You’ll want to reflect on various butter types, as they can greatly affect texture and flavor. Unsalted butter is often preferred for its purity, while European butter adds richness due to its higher fat content.
Here’s a quick reference table to guide you:
| Ingredient | Quantity |
|---|---|
| All-purpose flour | 2 ½ cups |
| Unsalted butter | 1 cup (cold) |
| Salt | ½ teaspoon |
| Ice water | 6-8 tablespoons |
| Sugar (optional) | 1 tablespoon |
Experimenting with crust variations, like adding a touch of sugar or using different fats, can elevate your pie game. Embrace the freedom to create your unique masterpiece!
Preparations
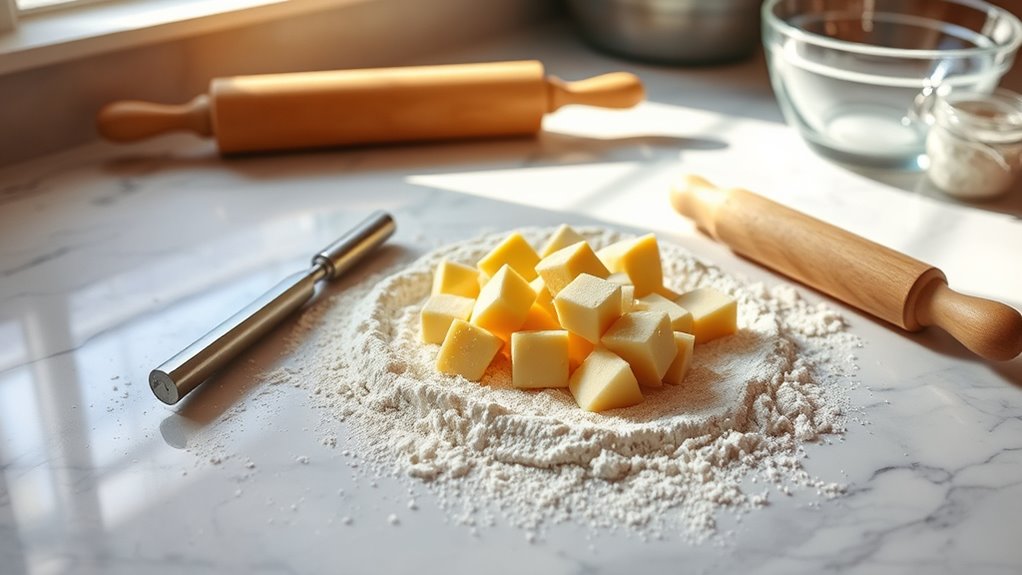
Before you plunge into rolling out your pie crust, it’s essential to prepare your workspace and gather your tools. Clear off your counter or table, ensuring you have enough room to work freely. A clean surface not only inspires creativity but also helps maintain the perfect dough consistency.
Next, consider your preparation techniques. Chill your butter and water beforehand, as cold ingredients help create a flaky crust. You’ll want to mix your dry ingredients first, then cut in the butter until the mixture resembles coarse crumbs. Slowly add water until the dough just comes together. Avoid overworking it; you’re aiming for a tender, not tough, crust. With everything set, you’re ready to create a delightful pie crust that’s sure to impress!
Tools / Kitchenware Required

Once you’ve prepped your ingredients and workspace, it’s time to gather the right tools for crafting that perfect pie crust. You’ll want to make certain you have a few essentials on hand.
| Tool | Purpose |
|---|---|
| Rolling pin | To roll out your dough evenly and effortlessly |
| Pastry cutter | To blend butter into the flour for a flaky crust |
Having these tools ready not only makes the process smoother but also enhances your baking experience. The rolling pin helps you achieve that ideal thickness, while the pastry cutter guarantees your butter is perfectly incorporated. With these kitchenware essentials, you’re one step closer to creating a delightful pie crust that’ll impress anyone who takes a bite!
How to Cook
- Gather all your tools and ingredients needed for the pie crust.
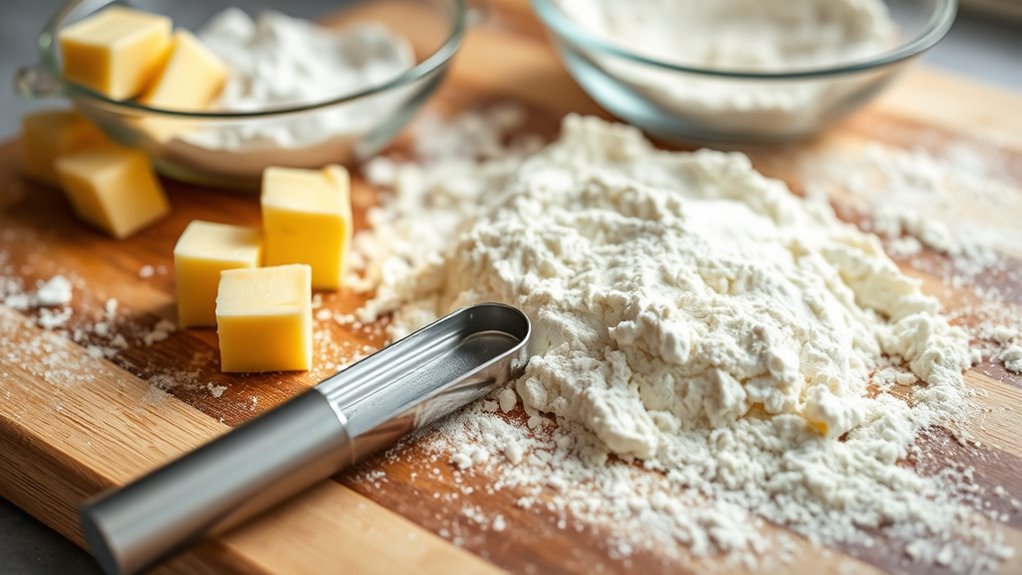
- In a bowl, mix the flour and salt together.
- Cut in cold butter using a pastry cutter or two knives until the mixture becomes crumbly. Avoid overmixing.
- Gradually add ice-cold water, a tablespoon at a time, until the dough just comes together.
- Shape the dough into a disk and wrap it tightly in plastic wrap.
- Chill the dough in the refrigerator for at least one hour to allow the gluten to relax for a flakier crust.
- Once chilled, roll out the dough for your preferred pie recipe, such as apple or chocolate.
- Proceed with baking and enjoy creating your delicious pie!
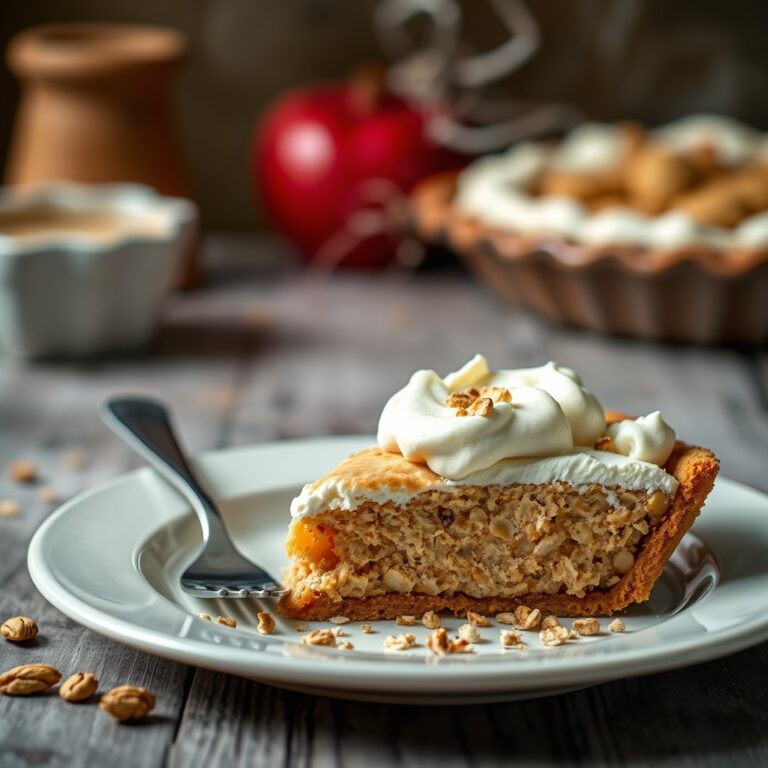
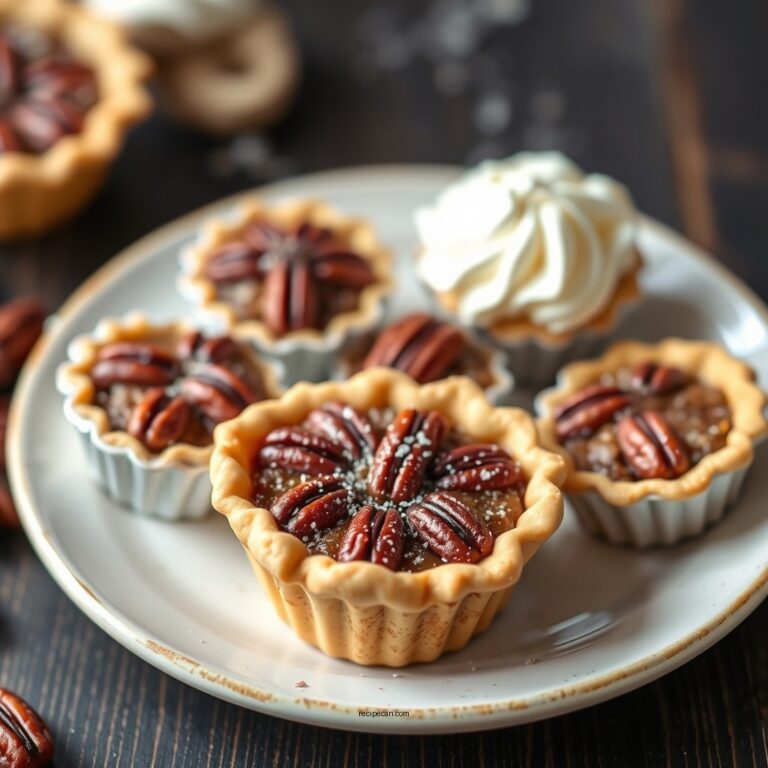
How to Serve
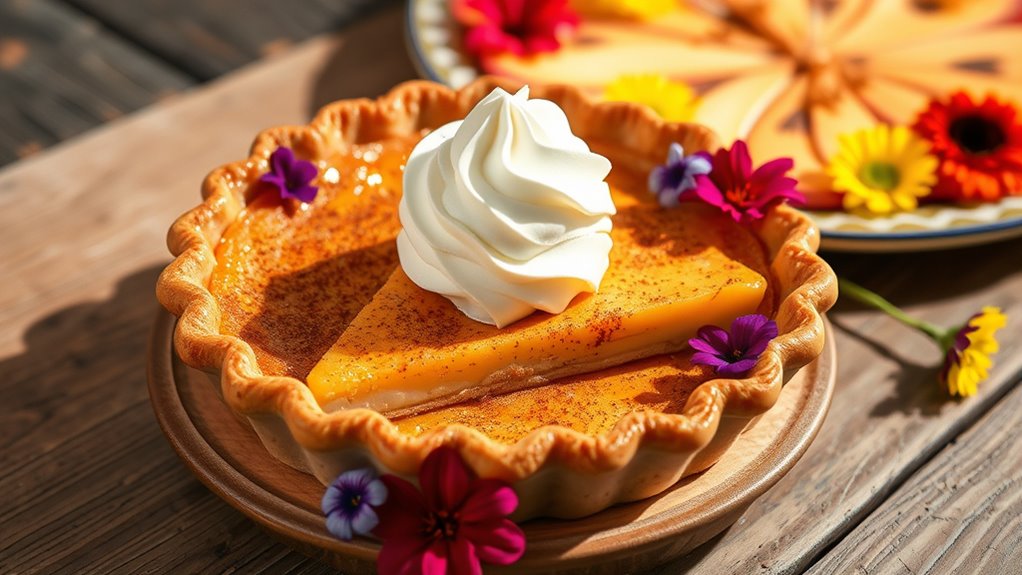
After rolling out your perfectly chilled pie crust, it’s time to think about how to serve your creation. Start with some delicious serving suggestions—warm slices topped with a scoop of vanilla ice cream or a dollop of whipped cream can elevate any pie. Don’t forget to sprinkle a little cinnamon for that extra zing! For presentation ideas, consider cutting the pie into elegant wedges and arranging them on a colorful platter. You could also add fresh fruit or edible flowers around the pie to create a vibrant display. If you’re feeling adventurous, serve mini pies in individual ramekins for a charming touch. Remember, the way you present your pie can inspire joy and appetite, so let your creativity shine!
Tips
Although making the perfect pie crust may seem challenging, a few handy tips can make the process smoother and more enjoyable. First, choose your butter types wisely—European butter has a higher fat content, which can give your crust a richer flavor and flakier texture. Next, keep your ingredients cold! Chilling the butter and water guarantees your crust remains tender. When mixing, don’t overwork the dough; it should be just combined for an ideal crust texture. Finally, let it rest in the fridge for at least 30 minutes before rolling it out. This helps the gluten relax, preventing shrinkage during baking. With these tips, you’ll embrace the freedom of pie-making and enjoy a delightful homemade crust!
Food Value and Benefit
A slice of pie provides a combination of essential nutrients that contribute to your overall health and enjoyment. The butter in the pie crust supplies important fats necessary for the absorption of fat-soluble vitamins, while the fruit filling adds fiber and a range of vitamins and minerals.
- Fats: Essential fatty acids from butter
- Vitamins: A, D, E, K (from butter); Vitamin C and some B vitamins (from fruit filling)
- Minerals: Potassium, manganese, and small amounts of iron and magnesium (from fruit filling)
- Fiber: Dietary fiber from fruit contributes to digestive health
Benefits of Eating This Pie Recipe:
- Supports brain function and heart health through essential fats and fat-soluble vitamins
- Provides antioxidants from fruits that help combat oxidative stress
- Enhances digestion and promotes gut health with dietary fiber
- Supplies vitamins and minerals that support immune function and overall vitality
Enjoying this pie in moderation can be a delicious way to nourish your body while treating yourself to a comforting dessert.
Frequently Asked Questions
Can I Use Margarine Instead of Butter for Pie Crust?
You can definitely use margarine instead of butter for your pie crust! Think of it like choosing between two different types of music—each has its own vibe. Margarine, a popular butter alternative, can produce a flakier crust, but it might lack that rich, buttery flavor you crave. Experimenting with different margarine brands can yield surprising results, allowing you to find the perfect balance between texture and taste that suits your culinary freedom!
How Can I Tell if My Pie Crust Is Overworked?
You can tell if your pie crust is overworked by checking its texture indicators. If the dough feels tough and lacks elasticity, you’ve likely gone too far. Ideally, it should be soft and slightly crumbly. When you roll it out, if it resists and springs back, that’s another sign of overworking. Remember, a light touch allows for a flaky, tender crust, so embrace that freedom in your baking!
What’s the Best Type of Butter to Use for Pie Crust?
When it comes to crafting that perfect pie crust, European butter’s your best bet. Its higher fat content enriches flavor and creates a flaky texture, like a buttery dream. If you prefer a bit of savory depth, salted butter can add a delightful contrast to sweet fillings. Just remember, the choice between the two depends on your taste—embrace the freedom to experiment and discover which butter sings in harmony with your pie!
How Long Can I Store Uncooked Pie Crust in the Fridge?
You can store uncooked pie crust in the fridge for up to three days. This uncooked storage method keeps your dough fresh and ready for baking. To maximize pie crust longevity, wrap it tightly in plastic wrap or place it in an airtight container. This way, you’ll guarantee it stays moist and prepped for when you’re ready to create that delicious pie. Enjoy the freedom of preparing ahead without sacrificing flavor!
Can I Freeze My Pie Crust for Later Use?
Yes, you can absolutely freeze your pie crust for later use! For long-term storage, wrap it tightly in plastic wrap or aluminum foil to prevent freezer burn. You might want to use a vacuum-sealing technique for extra protection. When you’re ready to bake, just thaw it in the fridge overnight. This way, you’ll have a delicious, ready-to-go crust whenever you crave a homemade pie, giving you the freedom to bake at a moment’s notice!
References
- https://en.wikipedia.org/wiki/Pastry
- https://www.verywellfit.com/how-to-make-a-pie-crust-5186778
- https://www.jamesbeard.org/recipes/perfect-pie-crust
- https://www.seriouseats.com/pie-crust-recipe-5119134
- https://www.cooking.nytimes.com/recipes/1019747-basic-pie-crust
- https://www.bbcgoodfood.com/recipes/perfect-pastry
- https://www.kingarthurbaking.com/recipes/pie-crust-recipe
- https://www.foodsafety.gov/food-safety-charts/cooking-pies
- https://extension.umn.edu/recipes/pie-crust
- https://www.nutrition.gov/topics/food-safety/food-safety-tips-pies