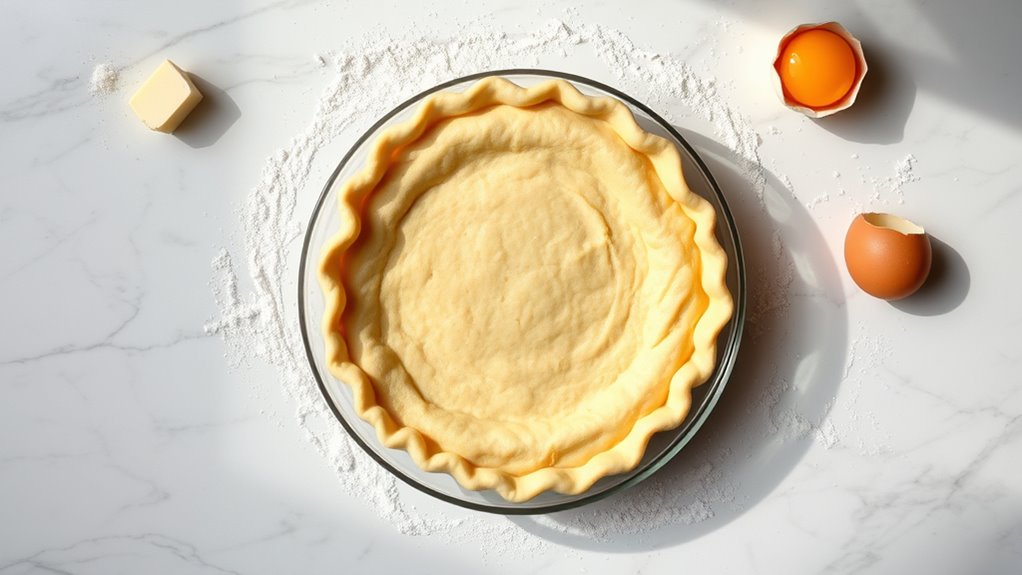
Making an easy pie crust is a breeze! Start with 2 ½ cups of all-purpose flour, 1 cup of cold unsalted butter, and ½ teaspoon of salt. Chill your butter for a flaky texture, then blend it into the flour until it resembles coarse crumbs. Gradually add ice-cold water until the dough forms. Wrap it and chill before rolling it out and baking. If you want to learn more tips for perfection, just keep going!
Ingredients and Quantity
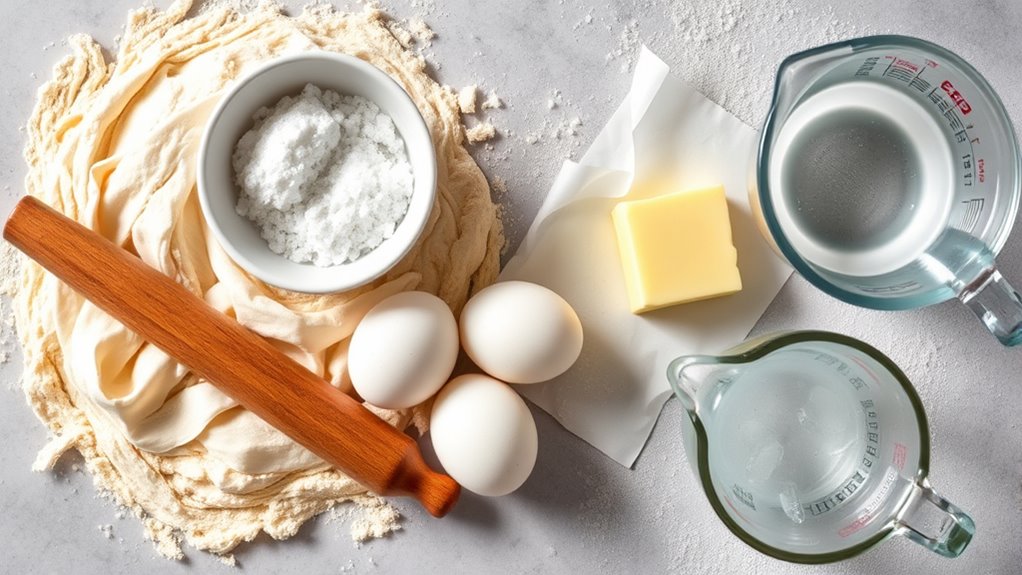
When it comes to making a perfect pie crust, having the right ingredients is essential. You want to guarantee you’re using the best pie crust ingredients and sticking to essential measurements. Here’s a quick reference table to guide you:
| Ingredient | Measurement |
|---|---|
| All-purpose flour | 2 ½ cups |
| Unsalted butter | 1 cup (cold) |
| Salt | ½ teaspoon |
Using these precise quantities, you’ll find that your crust turns out flaky and delicious. Don’t forget, the butter should be cold for that perfect texture. Remember, freedom in baking comes from knowing what works best, so don’t hesitate to experiment within these guidelines to make it your own! Enjoy the journey to pie perfection!
Preparations
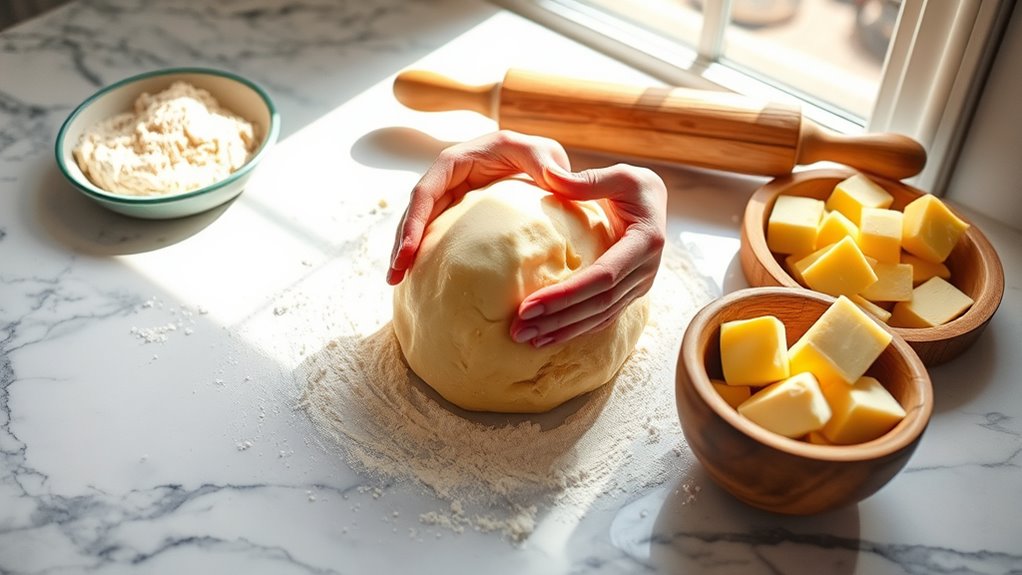
With your ingredients ready, it’s time to jump into the preparations that will set the stage for your pie crust. Start by chilling your butter or shortening; cold fats create a flaky texture. You can use a pastry cutter or your fingers to blend the fat into the flour until it resembles coarse crumbs. If you’re out of one ingredient, don’t fret! You can make ingredient substitutions—like using cream cheese instead of butter for a richer flavor. Next, add ice-cold water gradually, mixing until the dough holds together. Remember not to overwork it; a gentle touch keeps your crust tender. Once combined, wrap the dough in plastic wrap and chill in the fridge for at least 30 minutes to firm up.
Tools / Kitchenware Required
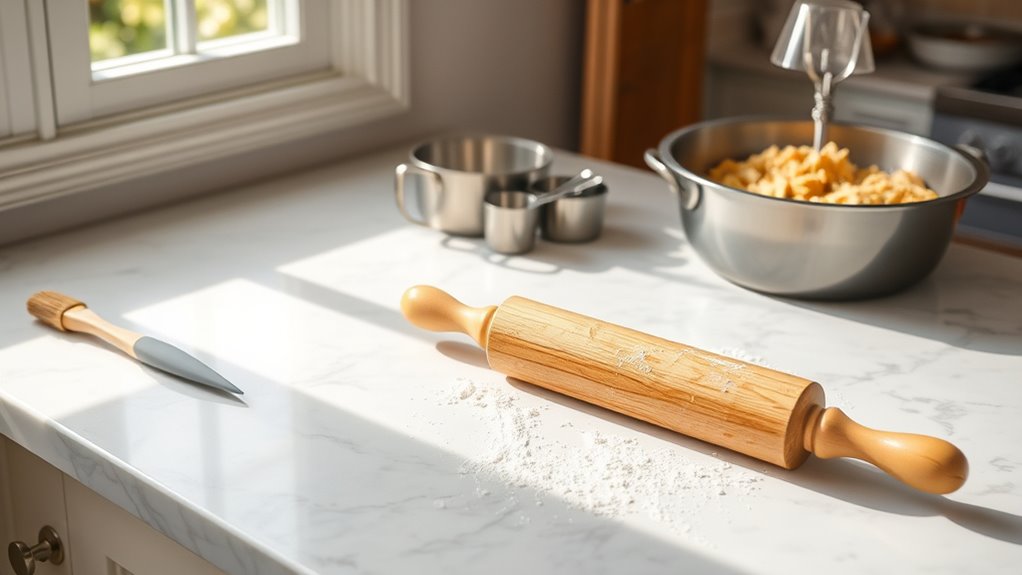
Creating the perfect pie crust requires a few essential tools that make the process smoother and more enjoyable. Here’s what you’ll need to gather before you start:
| Tool | Purpose |
|---|---|
| Rolling Pin | Flattens the dough evenly |
| Pastry Cutter | Cuts butter into flour for texture |
| Mixing Bowl | Combines ingredients effectively |
| Measuring Cups | verifies accurate ingredient ratios |
| Pie Dish | Holds your crust and filling |
With a rolling pin in hand, you’ll roll out dough effortlessly. A pastry cutter makes blending butter and flour a breeze, giving your crust that perfect flaky texture. These tools not only enhance your baking experience but also empower your creativity in the kitchen!
How to Cook
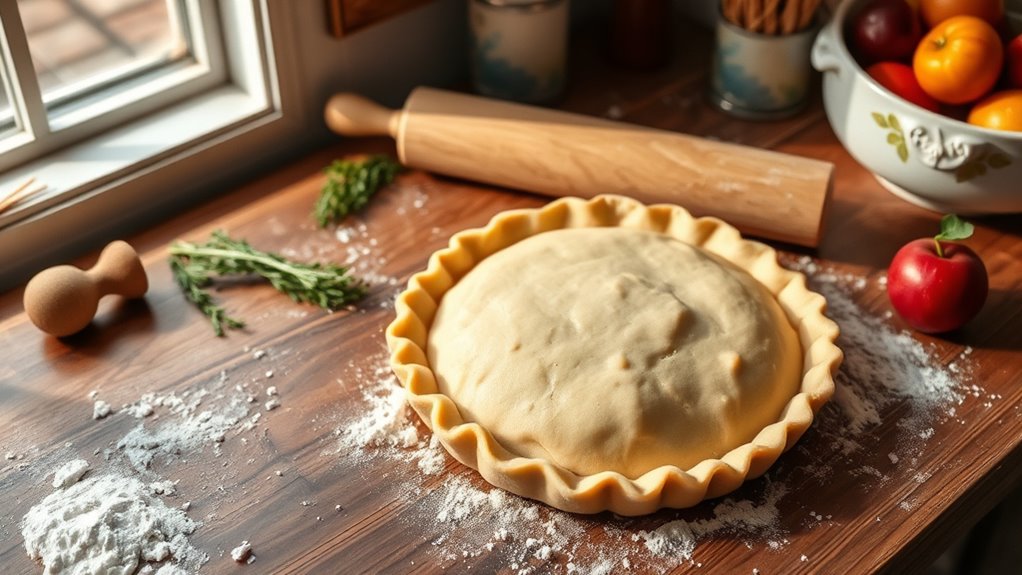
- Preheat your oven to 425°F (220°C).
- Roll out your dough evenly to about 1/8 inch thickness.
- Create a decorative edge by crimping or using a fork.
- For crust variations, consider blind baking:
- Place parchment paper over the crust.
- Fill it with weights (like pie weights or dried beans).
- Bake for 15 minutes to prevent sogginess.
- Once golden, remove the weights and let the crust cool.
- Experiment with different baking techniques to achieve your preferred texture, whether flaky or crumbly.
- Enjoy crafting your ideal, delicious pie crust!
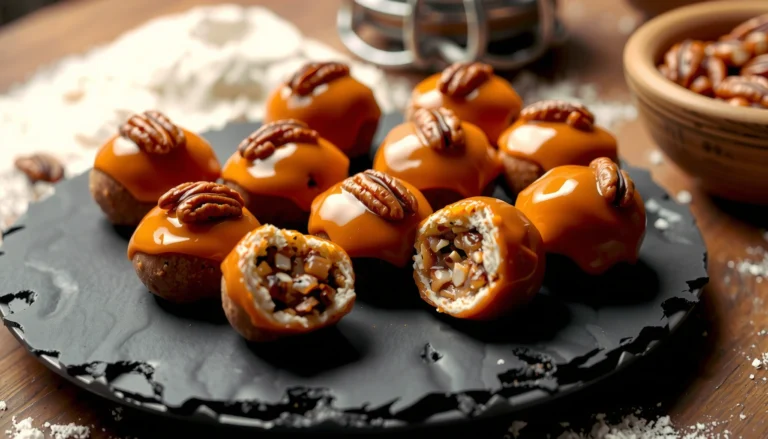
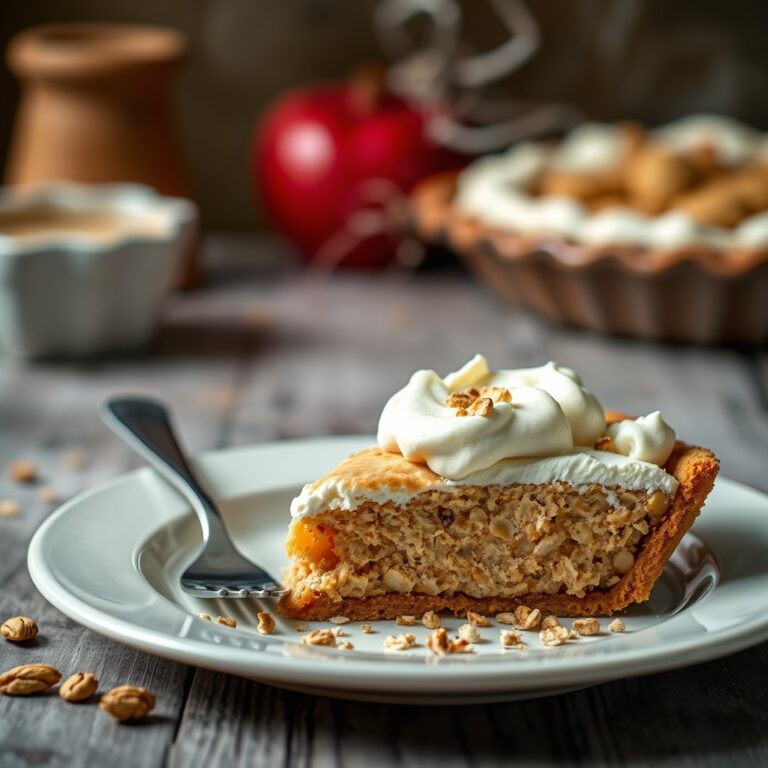
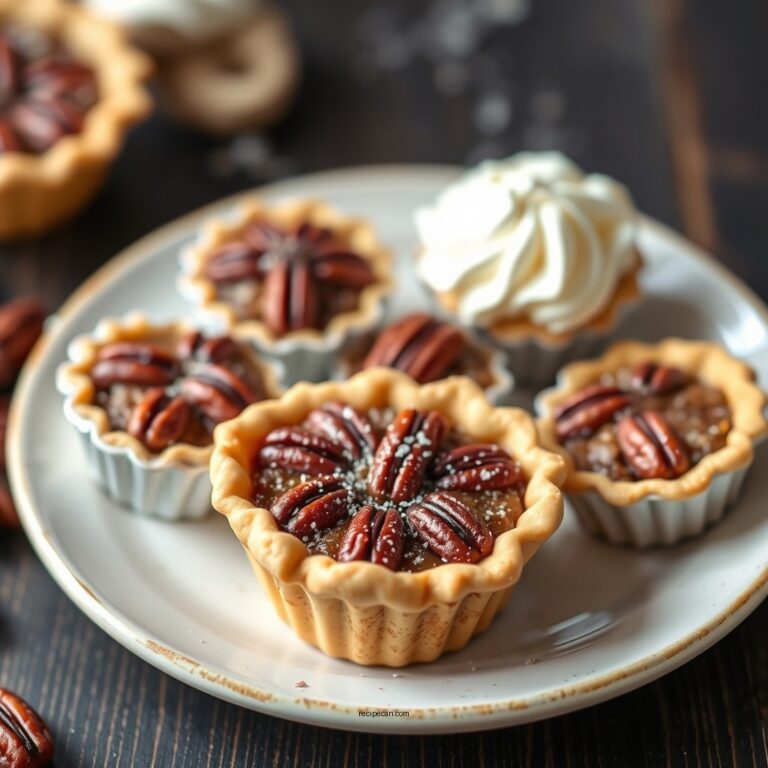
How to Serve
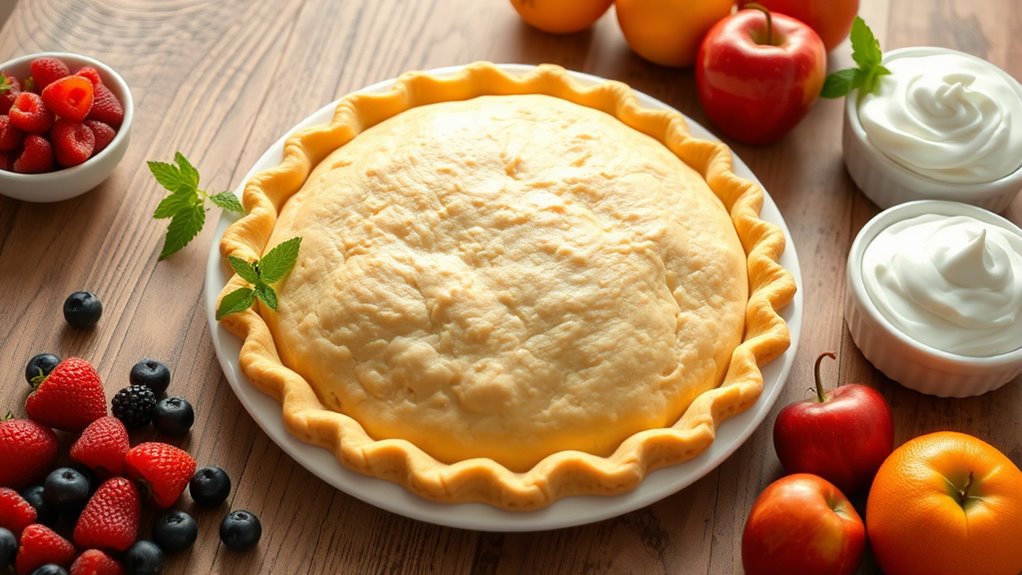
After your pie crust is perfectly baked and cooled, it’s time to think about how to serve it. Start by choosing your filling—think fruity, creamy, or even savory. Classic options like apple or pumpkin are crowd-pleasers, but don’t shy away from experimenting with unique flavors like lavender or chocolate. Once filled, consider the perfect pairings. A dollop of freshly whipped cream or a scoop of vanilla ice cream can elevate your dessert to new heights. If you’re feeling adventurous, drizzle some caramel or chocolate sauce for a decadent touch. Remember, presentation matters too; serve your pie on a beautiful platter and garnish with fresh herbs or zest. Your guests will appreciate the effort and enjoy every bite!
Tips
While making pie crust may seem simple, a few essential tips can make all the difference in achieving that perfect flaky texture. First, always use cold ingredients—chilled butter and ice water will help keep your crust light and airy. When mixing, avoid overworking the dough; you want to see small chunks of butter for that flakiness. Resting the dough in the fridge for at least 30 minutes helps the gluten relax, making it easier to roll out. Use parchment paper when rolling to prevent sticking and make cleanup a breeze. Finally, don’t forget to dock the crust with a fork before baking to prevent bubbling. These baking techniques will elevate your pie crust game, giving you the freedom to create delicious desserts.
Food Value and Benefit
The pie crust, often overshadowed by its fillings, offers notable food value and benefits when prepared thoughtfully. It primarily provides essential carbohydrates that supply energy to fuel your day. Depending on the ingredients used, the crust can also be a source of beneficial nutrients.
Food Value of Prepared Pie Crust:
- Rich in carbohydrates for energy
- Contains dietary fiber, especially when made with whole-grain flour
- Provides healthy fats if made with oils like olive oil or nut butters
- Contains protein when seeds or nuts are incorporated
Vitamins and Minerals Present:
- B vitamins (such as thiamine, niacin, and folate) from whole-grain flours
- Vitamin E from healthy fats like nuts and seeds
- Minerals including iron, magnesium, and zinc
- Trace amounts of calcium and potassium
Benefits of Eating This Recipe:
- Sustained energy release due to complex carbohydrates
- Improved digestive health from increased fiber content
- Support for heart health through healthy fats
- Enhanced nutrient intake by adding seeds or nuts
- Control over ingredients ensures freshness and reduces additives or preservatives
Enjoying a homemade pie crust not only enhances the flavor and texture of your pie but also contributes valuable nutrients to your diet, making it a wholesome foundation for your dessert.
Frequently Asked Questions
Can I Use Whole Wheat Flour Instead of All-Purpose Flour?
You can definitely use whole wheat flour instead of all-purpose flour, but you’ll notice a difference in texture. Whole wheat brings a nutty flavor and added nutrients, making your crust a bit heartier and more robust. However, it may be denser and less flaky compared to traditional flour. Embracing whole wheat benefits means you’re choosing a healthier option, but be prepared for a change in your pie’s delicate balance. Enjoy the journey!
How Long Can I Store the Pie Crust in the Fridge?
You can store your pie crust in the fridge for about 3 days. To keep it fresh, make sure you wrap it tightly in plastic wrap or parchment paper, then place it in the best containers you have, like an airtight container or a resealable plastic bag. This way, you’ll preserve its texture and flavor. Enjoy the freedom of having your crust ready to go whenever you’re inspired to bake!
What Can I Do if the Dough Is Too Sticky?
If your dough’s too sticky, don’t panic! About 30% of bakers face this issue. To improve dough consistency, sprinkle in a bit of flour, preferably all-purpose or bread flour, which can absorb moisture better. Gently knead it in until you achieve that perfect texture. Remember, a little goes a long way. You want your dough to be pliable, not a sticky mess, so take your time and enjoy the process!
Can I Freeze the Pie Crust for Later Use?
Yes, you can definitely freeze your pie crust for later use! To guarantee it stays fresh, wrap it tightly in plastic wrap and then place it in an airtight container. For freezing techniques, consider flattening the crust into a disc shape for easier thawing methods. When you’re ready to use it, just let it sit in the fridge overnight or at room temperature for about 30 minutes before rolling it out. Enjoy your baking freedom!
Is It Necessary to Blind Bake the Crust?
Blind baking isn’t just a ritual; it’s your secret weapon for achieving that perfect crust texture. If you’re filling it with a custard or fruit, it’s essential to blind bake, ensuring the bottom stays crisp and doesn’t turn soggy. You wouldn’t want your hard work ruined by a floppy crust! So, give your pie the freedom it deserves by pre-baking; it’ll elevate your dessert to a whole new level of deliciousness.
References
- https://en.wikipedia.org/wiki/Pastry
- https://www.foodsafety.gov/food-safety-charts/cold-food-storage-charts
- https://www.nutrition.gov/topics/food-safety
- https://www.extension.iastate.edu/foodsafety/food-safety-101/pastry-and-pie-crust
- https://www.verywellfit.com/how-to-make-pie-crust-1087439