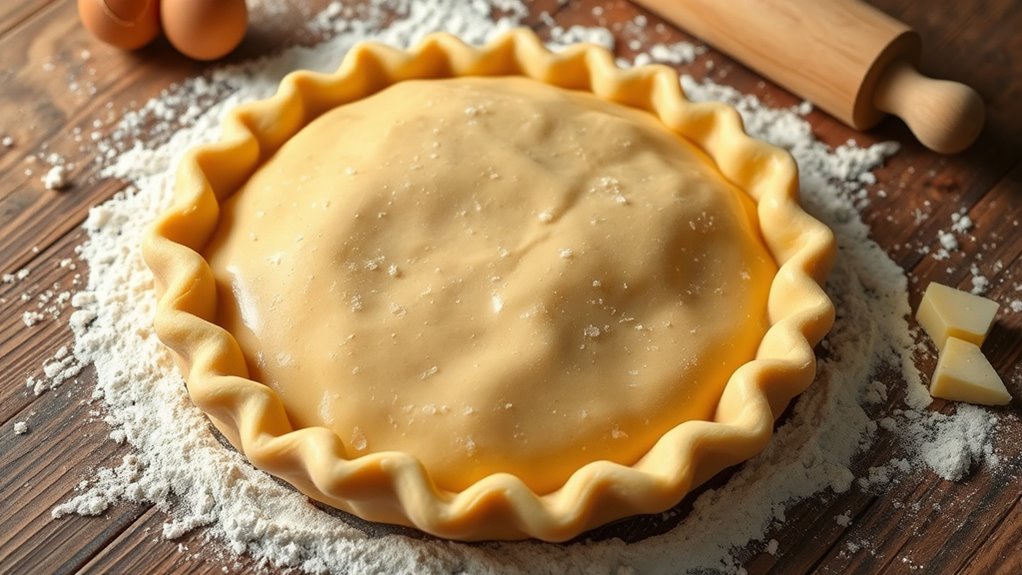
For a flaky pie crust, gather 2 ½ cups of all-purpose flour, 1 cup of cold butter, and 1 tsp of salt. Chill your butter and ice water before mixing. Combine flour and butter until it resembles coarse crumbs, then add 6-8 tbsp of ice water to hold the dough together. Roll it out gently and place it into a pie dish. With a few tips, you’ll achieve a perfect crust every time—keep going to uncover more secrets!
Ingredients and Quantity
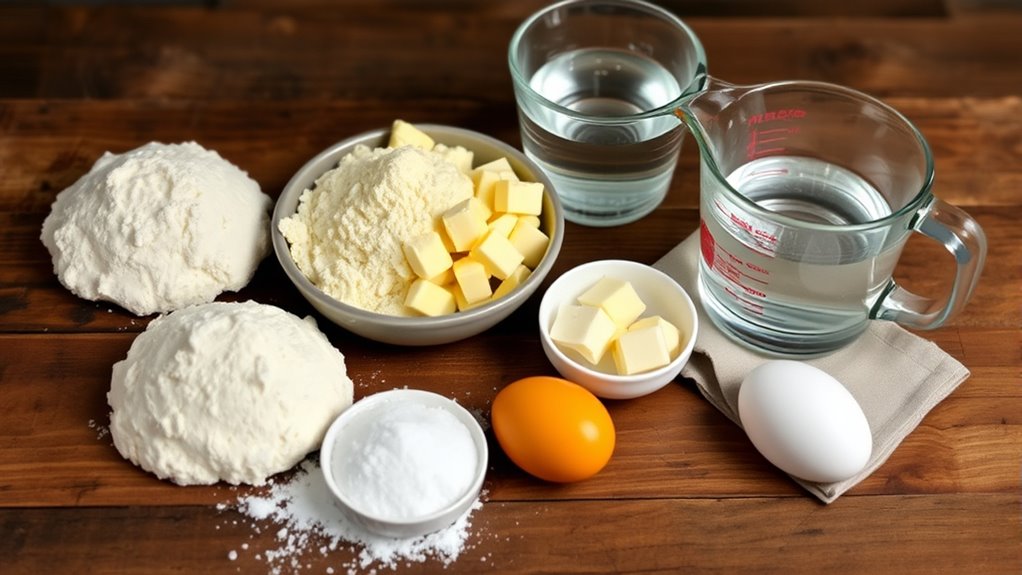
To create a perfect pie crust, you’ll need just a handful of essential ingredients that work together to form a flaky, delicious base. Choosing the right flour types is vital; all-purpose flour gives structure, while pastry flour adds tenderness. If you’re looking for butter alternatives, consider coconut oil or vegan butter for a delightful twist.
Here’s a quick guide to your ingredients:IngredientQuantityNotes
With these ingredients, you’re one step closer to pie perfection!
Preparations
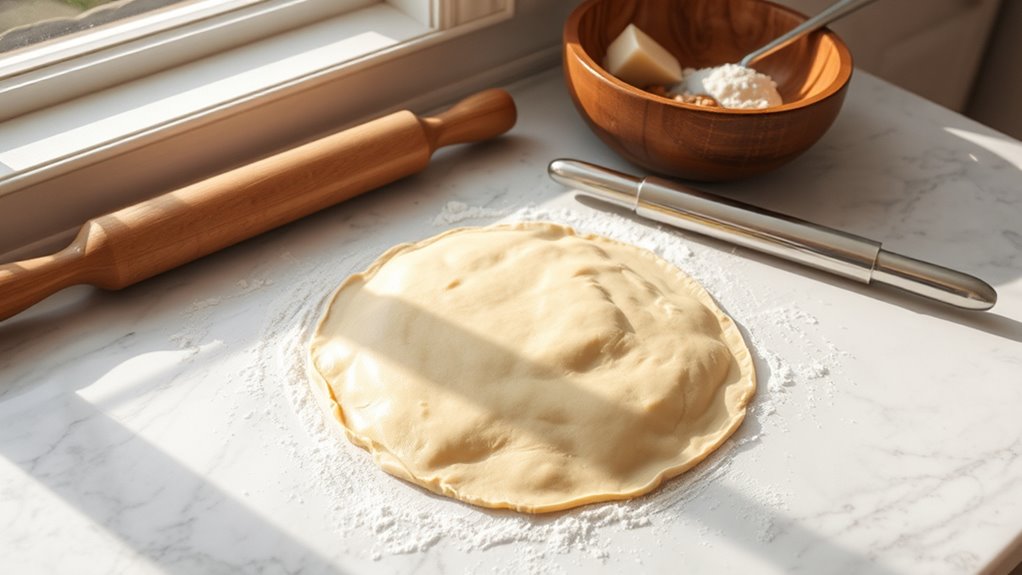
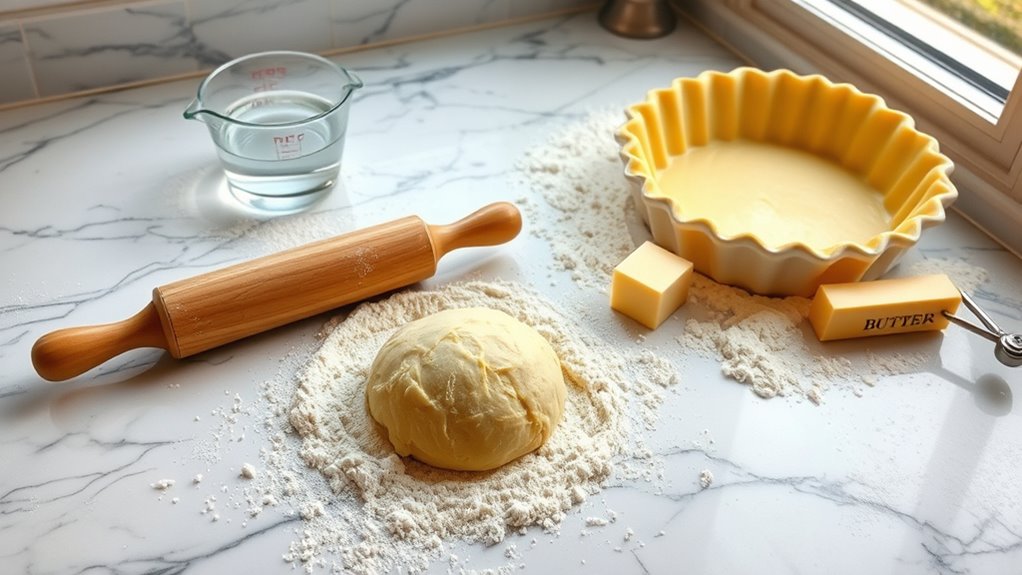
As you gather your ingredients, prep work is essential for crafting a stellar pie crust. First, chill your butter and water—this keeps your pie dough flaky and tender. Measure out your flour and sugar, ensuring everything’s ready for a smooth blend. When you combine your dry ingredients, whisk them well; this air incorporation is vital for texture. Next, cube your cold butter and mix it in with your fingers or a pastry cutter until it resembles coarse crumbs. Now, it’s time for the rolling technique. Lightly flour your surface and roll out your dough gently, maintaining an even thickness. Don’t rush this part; you want it just right for that perfect crust! Enjoy the process and let your creativity shine.
Tools / Kitchenware Required
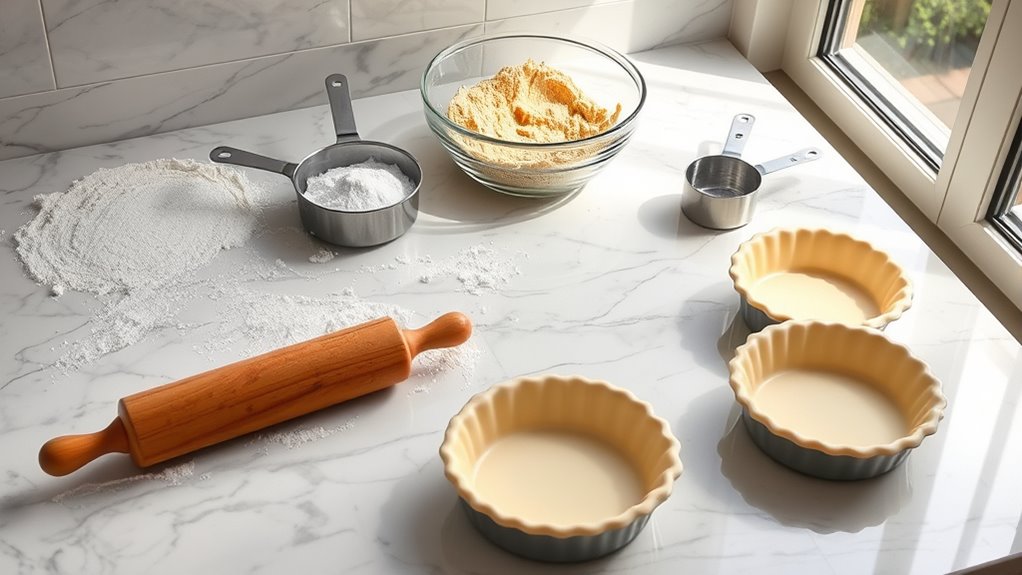
Creating the perfect pie crust requires the right tools to guarantee your efforts yield a delicious result. You’ll want to gather some essential kitchenware to make the process smooth and enjoyable.
Here’s a quick list of what you’ll need:
| Tool | Purpose |
|---|---|
| Rolling Pin | To roll out your dough evenly |
| Pastry Cutter | For blending butter into flour |
| Mixing Bowl | To combine your ingredients |
| Measuring Cups | For accurate ingredient portions |
| Pie Dish | To shape and bake your crust |
With these tools, you’ll have the freedom to create a crust that’s flaky and flavorful. Embrace the joy of baking, and let your creativity flow!
How to Cook
- Gather your tools and ingredients.
- Mix flour and fat using your fingertips to create a crumbly texture.
- Add cold water and mix just until the dough holds together.
- Roll out the dough on a floured surface.
- Choose your preferred crust style, such as buttery or flaky.
- Prepare the following items:
- Flour, for structure
- Butter or shortening, for richness
- Cold water, for binding
- A rolling pin, for even thickness
- A pie dish, to house your creation
- Place the rolled-out crust into the pie dish.
- Proceed to bake your pie crust as desired.
- Enjoy crafting your perfect pie crust!
How to Serve

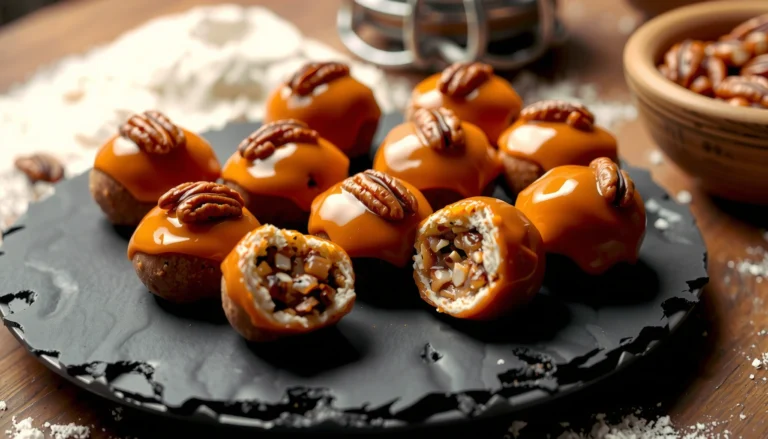
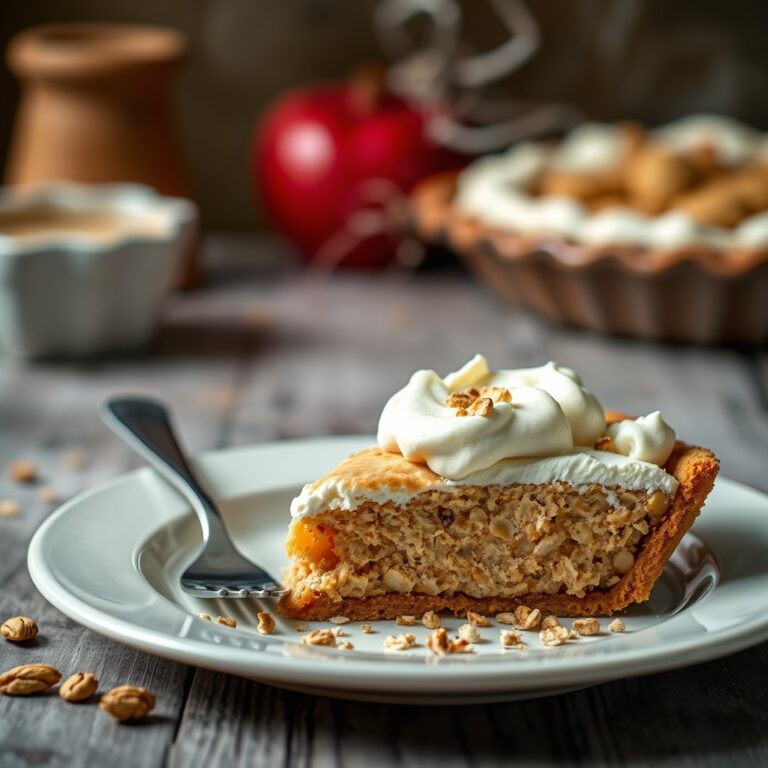
Serving your pie is just as important as making the perfect crust. A well-presented pie can elevate any gathering! For serving suggestions, consider slicing your pie into even wedges, showcasing that golden crust and delicious filling. Pair each slice with a dollop of whipped cream or a scoop of vanilla ice cream for a delightful contrast.
When it comes to presentation ideas, place your pie on a rustic wooden board or a vibrant tablecloth to create a warm, inviting atmosphere. Garnish with fresh fruit or a sprig of mint for an eye-catching touch. You might even want to serve it alongside a small pitcher of warm caramel sauce for an indulgent twist. Let your creativity shine and enjoy sharing your delicious creation!
Tips
While making a perfect pie crust may seem intimidating, a few simple tips can help you achieve that flaky, golden texture you desire. Embrace the freedom to experiment with different pie crust variations and baking techniques that suit your taste.
- Use chilled ingredients: Cold butter and water keep your crust light and flaky.
- Don’t overwork the dough: Mix just until combined to maintain that tender texture.
- Rest the dough: Let it chill in the fridge for at least 30 minutes to relax the gluten.
- Roll it out evenly: Aim for uniform thickness to guarantee even baking.
- Blind bake for custard pies: Pre-bake your crust to avoid sogginess with wet fillings.
With these tips, you’re well on your way to pie-making greatness!
Food Value and Benefit
A delicious pie offers more than just great taste; it provides valuable nutrients depending on the ingredients used. When prepared with whole-grain crusts and fresh fruit fillings, this pie delivers a wholesome combination of vitamins, minerals, and fiber.
Food Value of This Prepared Pie:
- High in dietary fiber from whole-grain crusts, aiding digestion and promoting satiety
- Rich in vitamins such as Vitamin C and Vitamin A from fresh fruits
- Contains essential minerals like potassium and magnesium
- Provides natural antioxidants that help combat oxidative stress
Benefits of Eating This Recipe:
- Supports healthy digestion due to its fiber content
- Boosts immune function with vitamin-rich fruit fillings
- Helps maintain healthy blood pressure through potassium intake
- Offers a natural source of energy without excessive processed sugars
- Suitable for various dietary needs when using alternatives like almond flour or coconut oil
Frequently Asked Questions
Can I Use Gluten-Free Flour for the Pie Crust?
You can definitely use gluten-free flour for your pie crust! As the saying goes, “Where there’s a will, there’s a way.” Embracing gluten-free options opens up a world of flour substitutes that can yield delicious results. Almond flour, coconut flour, or a gluten-free blend can work wonders. Just keep in mind that the texture might differ slightly, but with the right ratios and a little patience, you’ll create a crust that’s just as delightful!
How Long Can I Store the Pie Crust in the Fridge?
You can store your pie crust in the fridge for about 3 to 5 days. To keep it fresh, wrap it tightly in plastic wrap or place it in an airtight container. This way, you’ll preserve its texture and flavor. If you want to extend its shelf life, consider freezing it instead. Just remember to thaw it in the fridge before using it. Enjoy your baking freedom with perfectly stored crust!
What Should I Do if the Dough Is Too Crumbly?
If your dough’s as crumbly as a dry desert, it’s time to adjust that moisture balance. You can add a teaspoon of cold water at a time, gently mixing until the dough reaches a better consistency. Don’t overwork it—just enough to bring it together. Alternatively, you might consider adding a bit of softened butter to enrich the texture. Remember, achieving that perfect dough balance is key to a satisfying bake!
Can I Freeze the Pie Crust for Later Use?
Yes, you can absolutely freeze your pie crust for later use! Just make sure it’s well-wrapped in plastic wrap or placed in an airtight container to prevent freezer burn. When you’re ready to use it, let it thaw in the fridge overnight. This way, you’ll have a delicious, homemade crust ready for your next baking adventure. With proper pie crust storage, you can enjoy the freedom of prepping ahead without any stress!
What Is the Best Way to Prevent a Soggy Bottom?
To prevent a soggy bottom, blind baking’s your best friend. Start by preheating your oven and rolling out your crust. Place it in your pie dish, then cover it with parchment paper and fill it with pie weights. This keeps the crust from puffing up. Bake it until it’s lightly golden, letting steam escape. After this, you’ll have a beautifully crisp base ready for your delicious filling! Enjoy your freedom in baking!
References
- https://en.wikipedia.org/wiki/Pie_crust
- https://www.verywellfit.com/how-to-make-pie-crust-4771998
- https://www.nytimes.com/2017/11/17/dining/pie-crust-recipe.html
- https://www.kingarthurbaking.com/recipes/pie-crust-recipe
- https://www.bbcgoodfood.com/recipes/perfect-pastry
- https://www.cooking.nytimes.com/recipes/1019838-basic-pie-crust
- https://extension.unh.edu/resource/pie-crust-recipe
- https://www.seriouseats.com/pie-crust-recipe-5111109